Setup kubernetes with flannel on OVH 16 May 2017
(Updated on 25th of July 2018 with info on how to install & access kubernetes dashboard)
Hello everyone,
You could be interested as well by the following article : How to use gitlab pipelines to deploy to kubernetes
In the following article I will demonstrate how to :
- Deploy Kubernetes with 2 nodes (the master an a minion)
- Setup flannel as the network plugin
- Install and expose the kubernetes-dashboard application
Infrastructure description
Servers
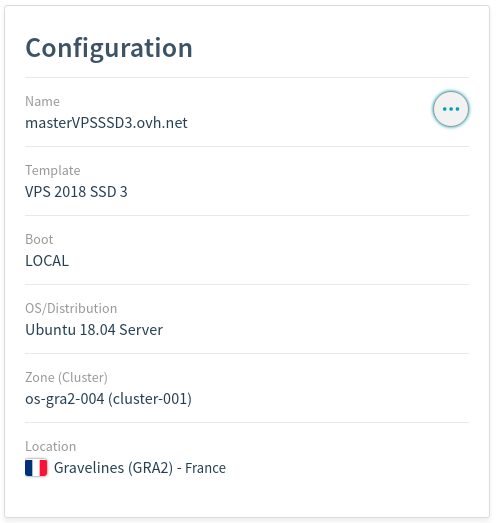
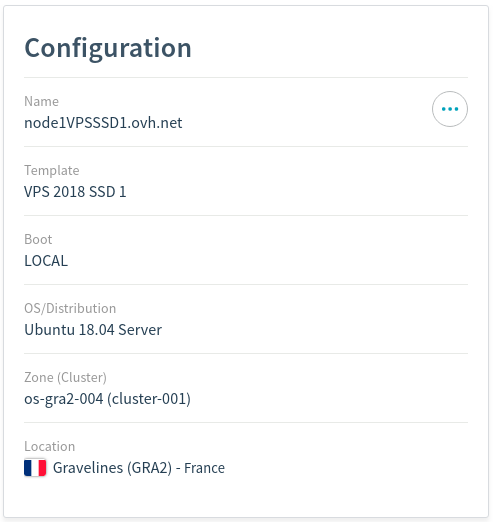
- 2x Cloud VPS-SSD running Ubuntu 18.04 server 64bits
1 Master with 2 vCpus
1 Node with 1 vCpu
Install Kubernetes
Log as root
Some commands need to be run as root. To log as root simply type.
$ sudo su -
More info on : https://www.ovh.co.uk/g1786.become_root_and_select_a_password
Install Docker
We have followed the Get Docker for Ubuntu guide. Here is the summury of commands :
Remove previous version of docker
$ sudo apt-get remove docker docker-engine docker.io
$ sudo apt-get update
Install docker community edition
$ sudo apt-get install apt-transport-https ca-certificates curl software-properties-common
$ curl -fsSL https://download.docker.com/linux/ubuntu/gpg | sudo apt-key add -
$ sudo apt-key fingerprint 0EBFCD88
$ sudo add-apt-repository "deb [arch=amd64] https://download.docker.com/linux/ubuntu $(lsb_release -cs) stable"
$ sudo apt-get update
$ sudo apt-get install docker-ce
Install Kubernetes
We are going to use the getting started kubeadm guide. We are going to sum-up the various command we have to run.
On all nodes
We followed the Ubuntu install part.
$ apt-get update && apt-get install -y apt-transport-https
$ curl -s https://packages.cloud.google.com/apt/doc/apt-key.gpg | apt-key add -
$ cat <<EOF >/etc/apt/sources.list.d/kubernetes.list
deb http://apt.kubernetes.io/ kubernetes-xenial main
EOF
$ apt-get update
$ apt-get install -y kubelet kubeadm kubectl
On the Master
Before starting you need to know that you will need to pass the –pod-network-cidr flag for the init command when using flannel (see https://kubernetes.io/docs/admin/kubeadm#kubeadm-init and https://github.com/kubernetes/kubernetes/issues/36575#issuecomment-264622923)
$ kubeadm init --pod-network-cidr=10.244.0.0/16
Save the kubeadm join command that kubeadm init will output at the end. You will need your token for your node.
kubeadm join --token <token> <master-ip>:<master-port>
Logout as a normal user and start the cluster
$ logout
$ mkdir -p $HOME/.kube
$ sudo cp -i /etc/kubernetes/admin.conf $HOME/.kube/config
$ sudo chown $(id -u):$(id -g) $HOME/.kube/config
Alternatively as root
export KUBECONFIG=/etc/kubernetes/admin.conf
At this stage the master node should NOT be ready because it is missing a network plugin to start.
$ kubectl get nodes

NAME        STATUS     ROLES     AGE       VERSION
vps569683   NotReady   master    8m        v1.11.1
You can run
$ kubectl describe nodes
You should find in the conditions section
KubeletNotReady runtime network not ready: NetworkReady=false reason:NetworkPluginN
Installing a pod network
We are going to install flannel as a pod network.
$ kubectl apply -f https://github.com/coreos/flannel/raw/master/Documentation/kube-flannel.yml

clusterrole.rbac.authorization.k8s.io/flannel created
clusterrolebinding.rbac.authorization.k8s.io/flannel created
serviceaccount/flannel created
configmap/kube-flannel-cfg created
daemonset.extensions/kube-flannel-ds-amd64 created
daemonset.extensions/kube-flannel-ds-arm64 created
daemonset.extensions/kube-flannel-ds-arm created
daemonset.extensions/kube-flannel-ds-ppc64le created
daemonset.extensions/kube-flannel-ds-s390x created
Check installation worked
$ kubectl get pods --all-namespaces

NAMESPACE     NAME                                READY     STATUS    RESTARTS   AGE
kube-system   coredns-78fcdf6894-cv6z2            1/1       Running   0          16m
kube-system   coredns-78fcdf6894-dzqc8            1/1       Running   0          16m
kube-system   etcd-vps569683                      1/1       Running   0          15m
kube-system   kube-apiserver-vps569683            1/1       Running   0          15m
kube-system   kube-controller-manager-vps569683   1/1       Running   0          15m
kube-system   kube-flannel-ds-amd64-cjzcm         1/1       Running   0          1m
kube-system   kube-proxy-7dbzl                    1/1       Running   0          16m
kube-system   kube-scheduler-vps569683            1/1       Running   0          15m
Everyting is fine.
For older version of kubectl (1.6) flannel did not started correctly here is the fix
$ kubectl get pods --all-namespaces

NAMESPACE     NAME                              READY    STATUS              RESTARTS  AGE
kube-system   etcd-server-1                      1/1       Running             0       3m
kube-system   kube-apiserver-server-1            1/1       Running             0       3m
kube-system   kube-controller-manager-server-1   1/1       Running             0       4m
kube-system   kube-dns-3913472980-2cknz          0/3       ContainerCreating   0       4m
kube-system   kube-flannel-ds-xcd15              1/2       CrashLoopBackOff    5       3m
kube-system   kube-proxy-j7tb0                   1/1       Running             0       4m
kube-system   kube-scheduler-server-1            1/1       Running             0       3m
Oups ! Something is wrong and flannel did not start nor the dns pod. You can have a look at the logs of the flannel pod.
$ kubectl logs -n kube-system kube-flannel-ds-xcd15 -c kube-flannel

E0523 11:39:28.562300       1 main.go:127] Failed to create SubnetManager: error retrieving pod spec for 'kube-system/kube-flannel-ds-xcd15': the server does not allow access to the requested resource (get pods kube-flannel-ds-xcd15)
You need to setup some RBAC permissions !
$ kubectl create -f https://raw.githubusercontent.com/coreos/flannel/master/Documentation/kube-flannel-rbac.yml

clusterrole "flannel" created
clusterrolebinding "flannel" created
Then wait for some time (time for pods to restart automatically) you should get everything runing !
$ kubectl get pods --all-namespaces

NAMESPACE     NAME                               READY     STATUS    RESTARTS   AGE
kube-system   etcd-server-1                      1/1       Running   0          1h
kube-system   kube-apiserver-server-1            1/1       Running   0          1h
kube-system   kube-controller-manager-server-1   1/1       Running   0          1h
kube-system   kube-dns-3913472980-2cknz          3/3       Running   33         1h
kube-system   kube-flannel-ds-xcd15              2/2       Running   23         1h
kube-system   kube-proxy-j7tb0                   1/1       Running   0          1h
kube-system   kube-scheduler-server-1            1/1       Running   0          1h
Finding all this took me quite some time as I was a pure Kubernetes newbee. So I do hope it really saves you time.
Specific to minion
Run the join command as root (replace by your own specific values).
$ kubeadm join --token <token> <master-ip>:<master-port>
Login to master and check node as been added.
$ kubectl get nodes

NAME        STATUS    ROLES     AGE       VERSION
vps569683   Ready     master    20m       v1.11.1
vps569684   Ready     <none>    28s       v1.11.1
You can check that you have a new flannel-ds pod running.
$ kubectl get pods --all-namespaces

NAMESPACE     NAME                                READY     STATUS    RESTARTS   AGE
kube-system   coredns-78fcdf6894-cv6z2            1/1       Running   0          20m
kube-system   coredns-78fcdf6894-dzqc8            1/1       Running   0          20m
kube-system   etcd-vps569683                      1/1       Running   0          20m
kube-system   kube-apiserver-vps569683            1/1       Running   0          20m
kube-system   kube-controller-manager-vps569683   1/1       Running   0          20m
kube-system   kube-flannel-ds-amd64-cjzcm         1/1       Running   0          6m
kube-system   kube-flannel-ds-amd64-g46sh         1/1       Running   0          1m
kube-system   kube-proxy-7dbzl                    1/1       Running   0          20m
kube-system   kube-proxy-rcwnh                    1/1       Running   0          1m
kube-system   kube-scheduler-vps569683            1/1       Running   0          20m
Install Kubernetes Dashboard
https://github.com/kubernetes/dashboard
We are going to install dashboard following the alternative setup because we do not want to go too deep into the certificate issues in this article. So the dashboard will be exposed over HTTP only…
From Master (not really important) execute the “alternative” command
$ kubectl apply -f https://raw.githubusercontent.com/kubernetes/dashboard/master/src/deploy/alternative/kubernetes-dashboard.yaml
Check everything is fine and pod status is Running
$ kubectl get pods --all-namespaces

NAMESPACE     NAME                                    READY     STATUS    RESTARTS   AGE
kube-system   coredns-78fcdf6894-cv6z2                1/1       Running   0          21h
kube-system   coredns-78fcdf6894-dzqc8                1/1       Running   0          21h
kube-system   etcd-vps569683                          1/1       Running   0          21h
kube-system   kube-apiserver-vps569683                1/1       Running   0          21h
kube-system   kube-controller-manager-vps569683       1/1       Running   0          21h
kube-system   kube-flannel-ds-amd64-cjzcm             1/1       Running   0          21h
kube-system   kube-flannel-ds-amd64-g46sh             1/1       Running   0          21h
kube-system   kube-proxy-7dbzl                        1/1       Running   0          21h
kube-system   kube-proxy-rcwnh                        1/1       Running   0          21h
kube-system   kube-scheduler-vps569683                1/1       Running   0          21h
kube-system   kubernetes-dashboard-6d4bc79449-hg224   1/1       Running   0          8s
Check the pod is running on node and not master
$ kubectl describe pod kubernetes-dashboard-6d4bc79449-hg224 --namespace=kube-system
Check the node section of the response
Node:vps569684/XX.XX.XXX.XX
Acces the UI from the web
We need to make the service visible to the outside world and not only inside the cluster from other pods.
Edit kubernetes-dashboard service.
$ kubectl -n kube-system edit service kubernetes-dashboard
Change type: ClusterIP to type: NodePort and save file.
Then we need to retrieve the port on which dashboard is running, below you can see it is running on port 32116
$ kubectl -n kube-system get service kubernetes-dashboard

NAME                   TYPE       CLUSTER-IP       EXTERNAL-IP   PORT(S)        AGE
kubernetes-dashboard   NodePort   10.101.131.104   <none>        80:32216/TCP   22h
To access dashboard simply enter the following url
http://<node-ip>:<nodePort>
(if your pod has been deployed on the master then put the master ip)
Grant the necessary rights to the dashboard app
You wil; probably encounter the following issue (and many more)
configmaps is forbidden: User "system:serviceaccount:kube-system:kubernetes-dashboard" cannot list configmaps in the namespace "default"
It means kubernetes-dashboard does not have the correct rights to execute commands.
To solve we are going to grant dashboard the cluster-admon role. WARNING This is not suitable for production environment !!! But this is not the purpose of this introduction article.
For more details about toles have a look at this issue (Dashboard issue 2681)
$ vi kube-dashboard-access.yaml
Paste the following content and save.
apiVersion: rbac.authorization.k8s.io/v1beta1
kind: ClusterRoleBinding
metadata:
  name: kubernetes-dashboard
  labels:
    k8s-app: kubernetes-dashboard
roleRef:
  apiGroup: rbac.authorization.k8s.io
  kind: ClusterRole
  name: cluster-admin
subjects:
- kind: ServiceAccount
  name: kubernetes-dashboard
  namespace: kube-system
Then apply these changes
kubectl create -f kube-dashboard-access.yaml
Reload your dashboard UI, it should work now
Reset
If you want to start again, here is how to reset a node
kubectl drain <node name> --delete-local-data --force --ignore-daemonsets
kubectl delete node <node name>
# Then, on the node being removed, reset all kubeadm installed state:
kubeadm reset